Hello Everyone!!!
This post is all about getting Started with TOMCAT Server 8.
What is Tomcat Server?
Tomcat implements several Java EE specifications including Java Servlet, JavaServer Pages (JSP), Java EL, and WebSocket, and provides a "pure Java" HTTP web server environment for Java code to run in.
I had faced a few problems in installing TOMCAT, by using the methods that I found on Internet.
Today I'll show you the most easiest and simplest method to do this within in no time.
Assuming that you have JAVA ENVIRONMENT SETUP on your device, we proceed further.
You have to download the latest tomcat version from Apache TOMCAT's official website.
Step 1:
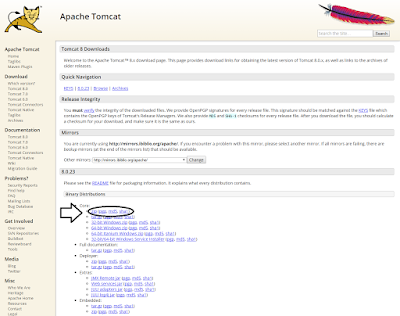
Select the Tomcat version you wish to download, and click on download.
Scroll down.Under the Binary Distributions Section, click on the core\zip.
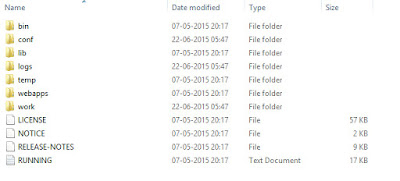
The download will take a couple of minutes. Now extract the contents of the ZIP file to any location of your choice.This is how the contents of the extracted folder looks like:
Step 2:
Open the lib folder, in that copy the 4 files shown below and paste those into java\jre\lib\ext
Step 3:
Add a new Environment Variable,CATALINA_HOME.
Navigate to My Computer>Properties>Advanced system Settings>Environment Variables
Under the User's variables section, click on NEW button, In the variable name Text box, write CATALINA_HOME.
Copy the path where you have extracted TOMCAT. and paste it in Variable Value Text box.
Step 4:
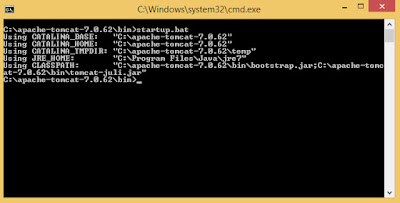
Now open Command Prompt and navigate to the TOMCAT folder, in that go to bin
then type startup.bat as shown below.
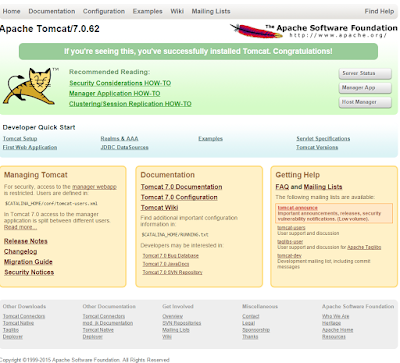
You can test the instasllation success by checking the link:
http://localhost:8080/
The welcome screen of Apache Tomcat Appears.
Step 5:
Open Netbeans IDE
In the Menu bar go to Tools>Servers
The Server window appears, click on Add server.
Select Apache Tomcat and proceed.
Browse the location of the Tomcat folder, type admin for username and password. Click Finish.
Now the Tomacat Server is added to the Netbeans successfully, so you can run any java web application on Tomcat web server.
Viola!!! Now you're done.
So guy's, that's it. Hope this is helpful. Thanks for reading.


No comments:
Post a Comment